The battery pack usually can be recycled entierely to build other interesting applications.
Old laptops battery packs contain some batteries named 18650. A 18650 batteries is a Lithium Ion batter (18650 means 18mm *65mm) very powerful and used, in the past, by different vendors as a standard when talking of new re-chargeable batteries.
In the following image a 18650 battery compared with a standard alkaline AA one.
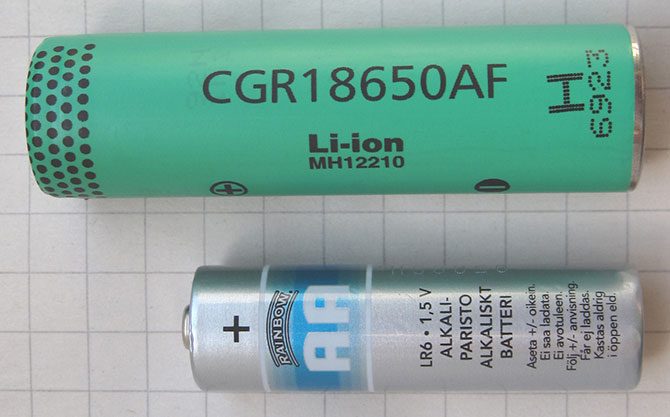 Each battery could produce more or less (please, consider it as an average) 3 Amps with a voltage between 3.6 or 3.7 (don't trust who sells batteries with current capacity higher than 4 AMPS), so, putting them in series or in parallel (or in series and parallel), you can reach different configurations for your battery pack.
Obviously you will not have the same characteristics of a new battery but, more or less, you will be able to have most of the capacity originally available (This is true if the battery can still be used and is not damaged, that means that the voltage of the cell should have never reached a value lower than 2,5 Volts).
The only complexity you have, in this very initial stage, is that you need to broke the laptop battery pack in order to reach the single cell to use for your battery pack. This because vendors do not produce battery packs in a frame that can be opened (the "official" version is because of security reason). Because of this be very careful when you do it because you can shortcut one or more batteries causing fires or damaging the batteries. Once you have all the batteries you need, you should verify each single battery (If the initial voltage is too low then the battery cannot be used) and charge each of them. To charge each battery you can use any 18650 charger available on the market (very cheap). Those chargers are mandatory for this activity because they will interrupt the current flow when the voltage of the battery is too high, so to risk the stability of the battery itself.
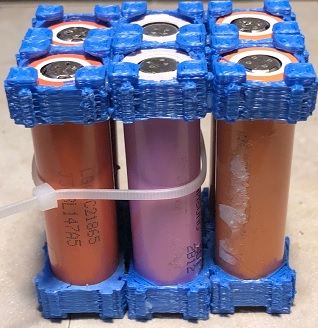
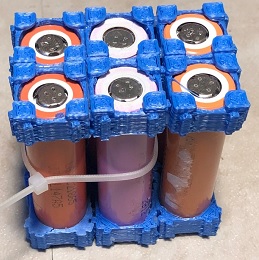
When all your batteries have been recharged you should create what I call "cell battery packs" putting in parallel batteries with more or less a similar voltage (don't forget that when two batteries are in parallel the current is equally distributed between the two batteries so you risk to damage the one with more capacity in it). So, create how many cell battery packs you want, but make a good voltage distribution in all of them.
If you want now to increase the voltage you will need simply to put different cell battery packs in series increasing the voltage. To create a cell battery pack you have different options. I simply printed very easy connectors with my 3d printer and with a solder, (very high temperature) I soldered cables to connect cells between them.
To not damage your battery pack, you should use something to interrupt the charging current when the battery is too charged and to interrupt the discharging flow when the voltage of the single battery is not far from 2.5V.
This can be done buying a simple circuit named BMS (Battery Management System). Following the one I bought from Ebay (It is available for few euros. It depends on the current it must support)
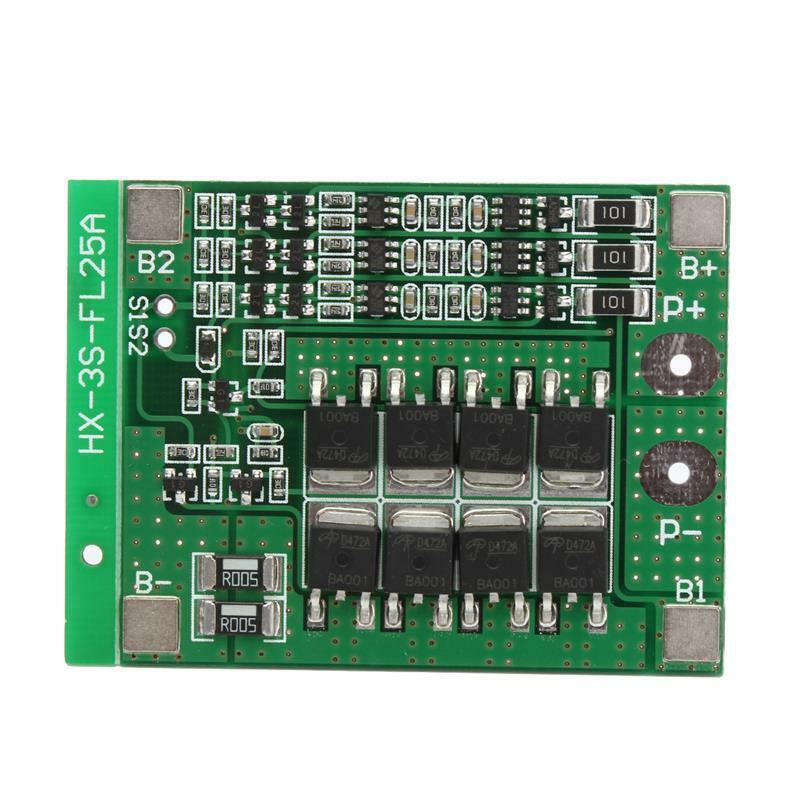 A BMS is a very easy circuit that you can use to split and measure dinamically cell battery packs of a battery. Based on the measure it collects (volts in charge or in discharge), the current going out or coming in is interrupted or not. This will protech the single cell (NOTE: or the block of cells) avoiding any damage.
To be honest, it protects the block of cells that you have in parallel so if you have, like in my case, a single pack of 9 cells in parallel multiplied by 3 you will protect the pack but not any single cell. To protect any single cell the configuration is a little bit complex and you need different BMS circuits. In my case if a cell has a fault the entiere pack is at risk in any case.
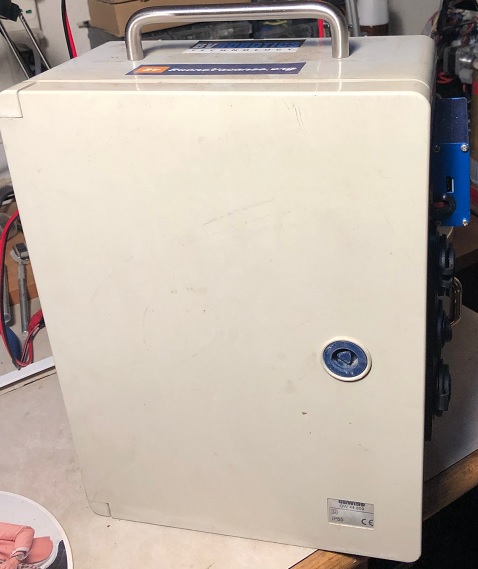
Once everithing is assembled you should store your battery pack in a safe place. I used a small plastic box (I got a box used to contains pills for my dishwasher).
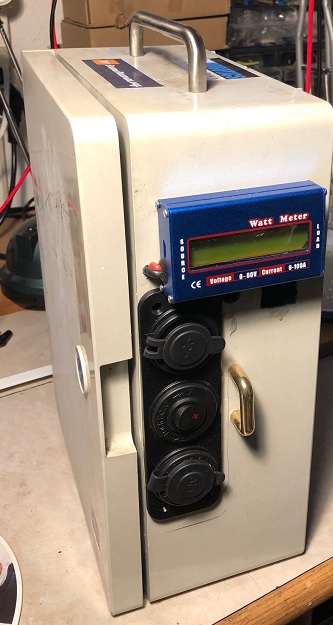
For this project I built a 12V * 27Amps battery pack.
The case used for this battery pack is a case bought in a elettricity store.

 As you can see I put at the top an handle to carry the box with me making it a portable energy source:
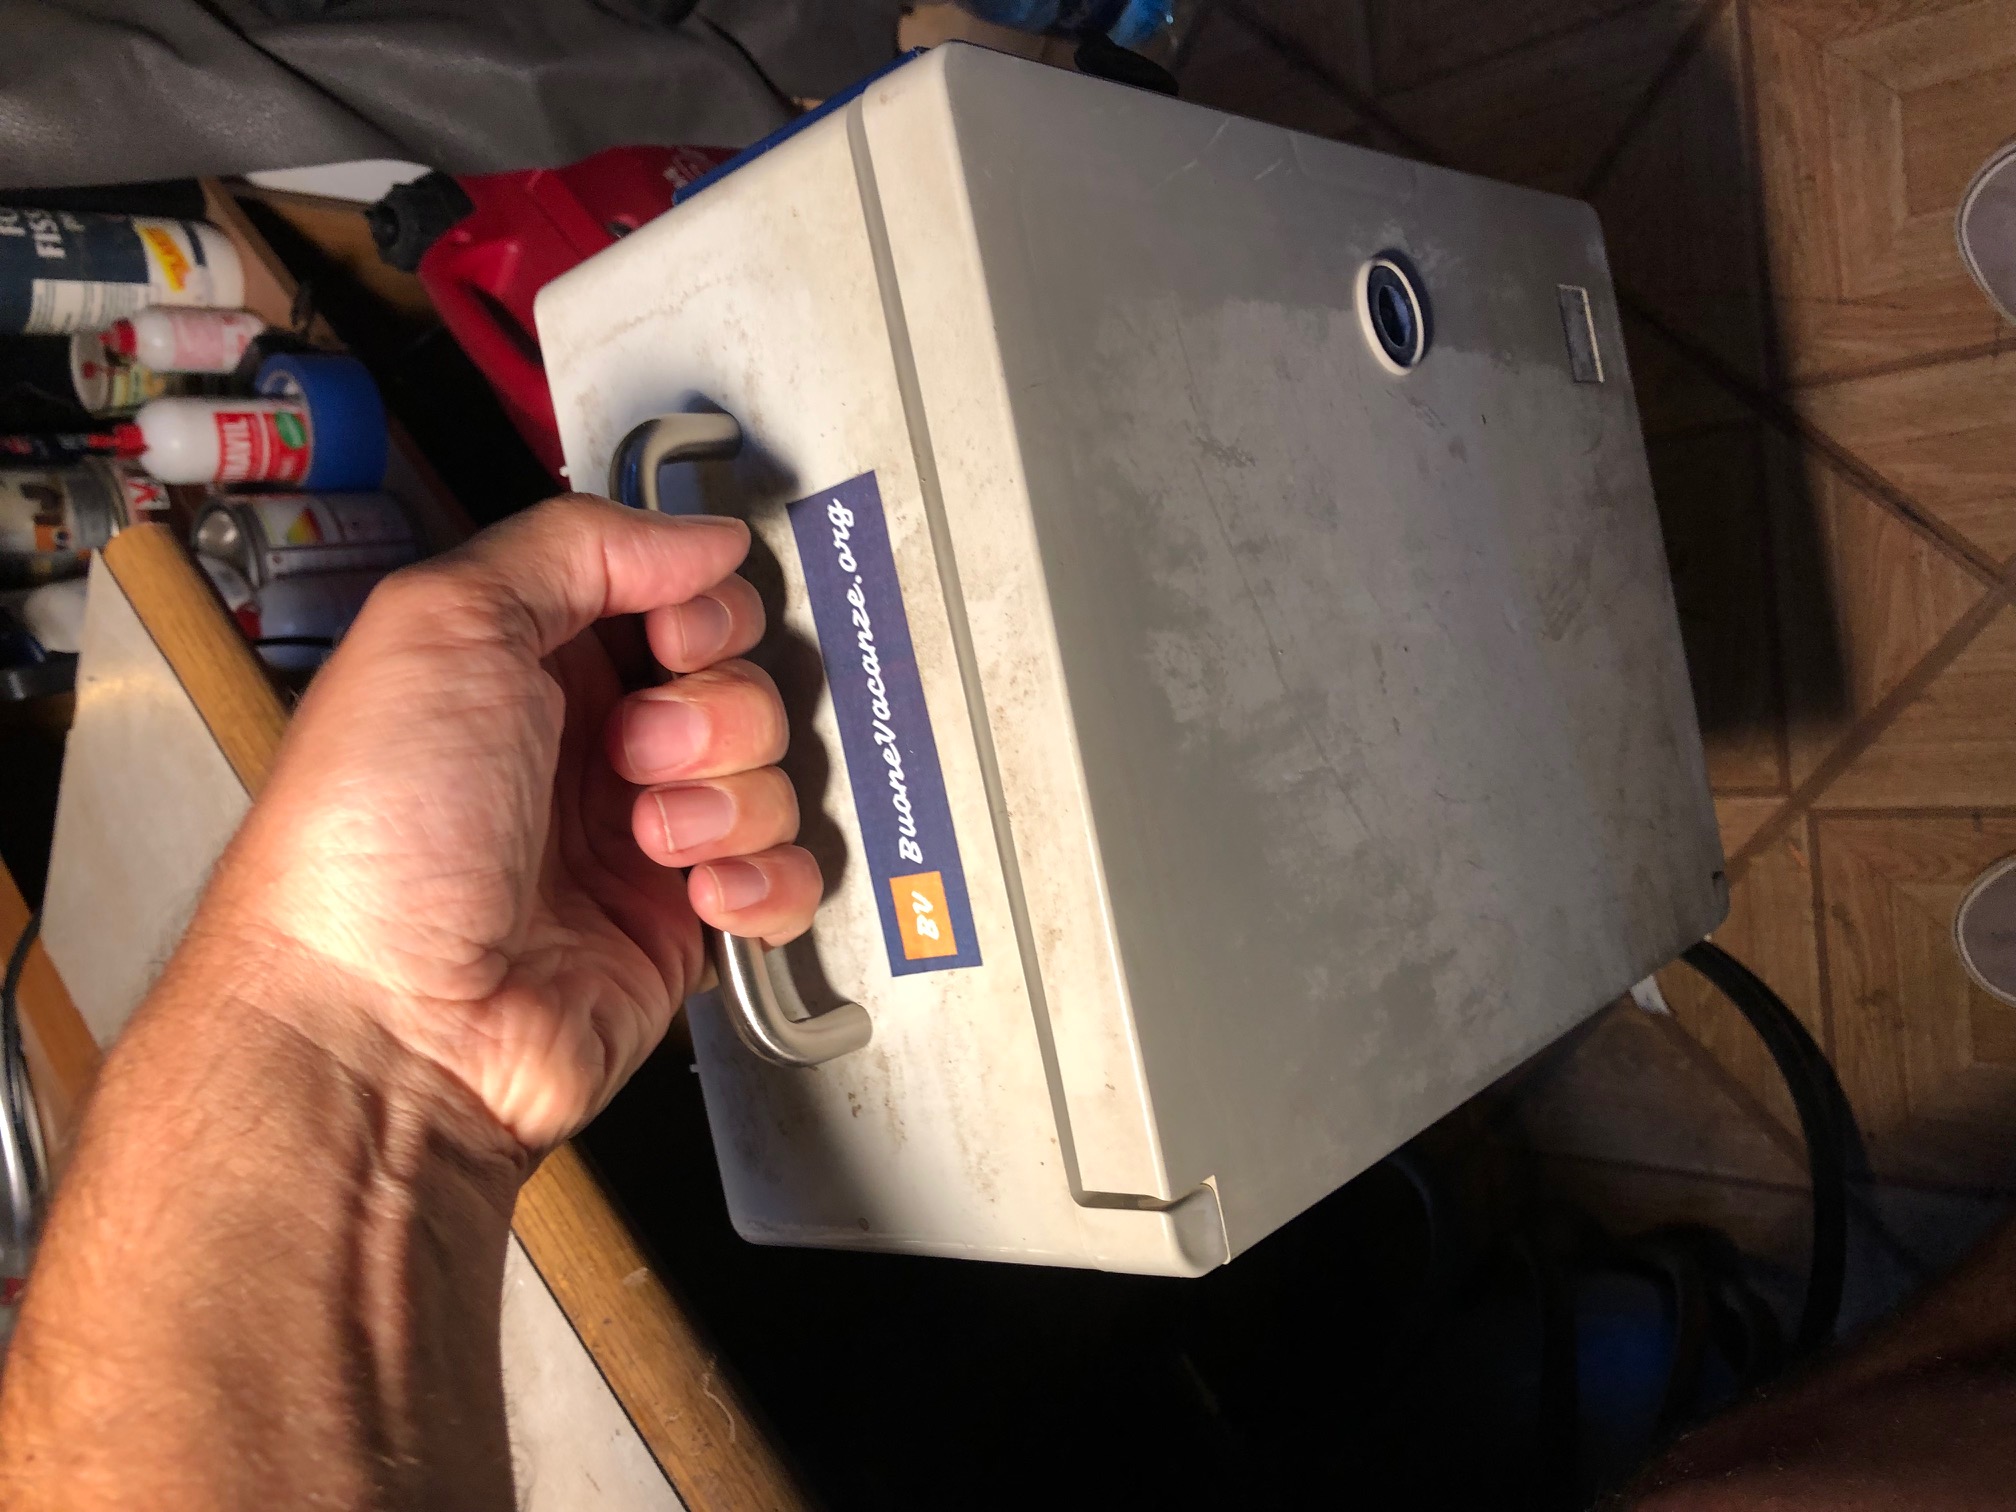 Once the box is ready you need to buy something that you can use to "consume" the energy contained in your battery pack, making available standard power plugs ready to be used by your devices.
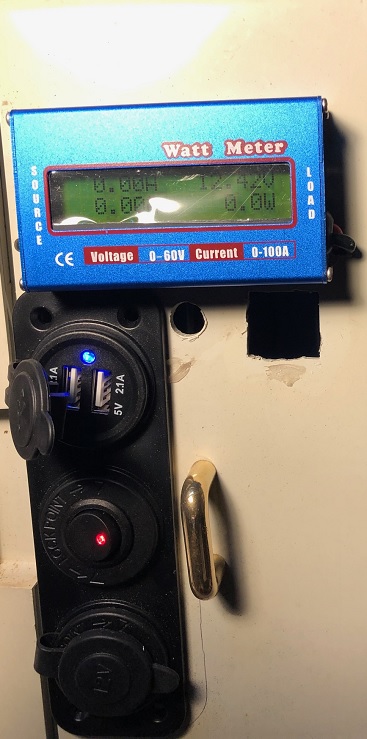
Because I will use my energy Box in my RV I bought a classic 12 volt connector and an usb femal plug (you can buy different usb plugs to use in a pannel which automatically decrease the voltage of the battery from 12V to 5V ready to be used by any USB device).
If you want to add more feature to your box you can add a meter (like the one I bought) to measure the voltage of the battery and the current that, at a specified time, the device connected is absorbing.